Pages

Thursday, April 24, 2014

Solid tine greens aeration

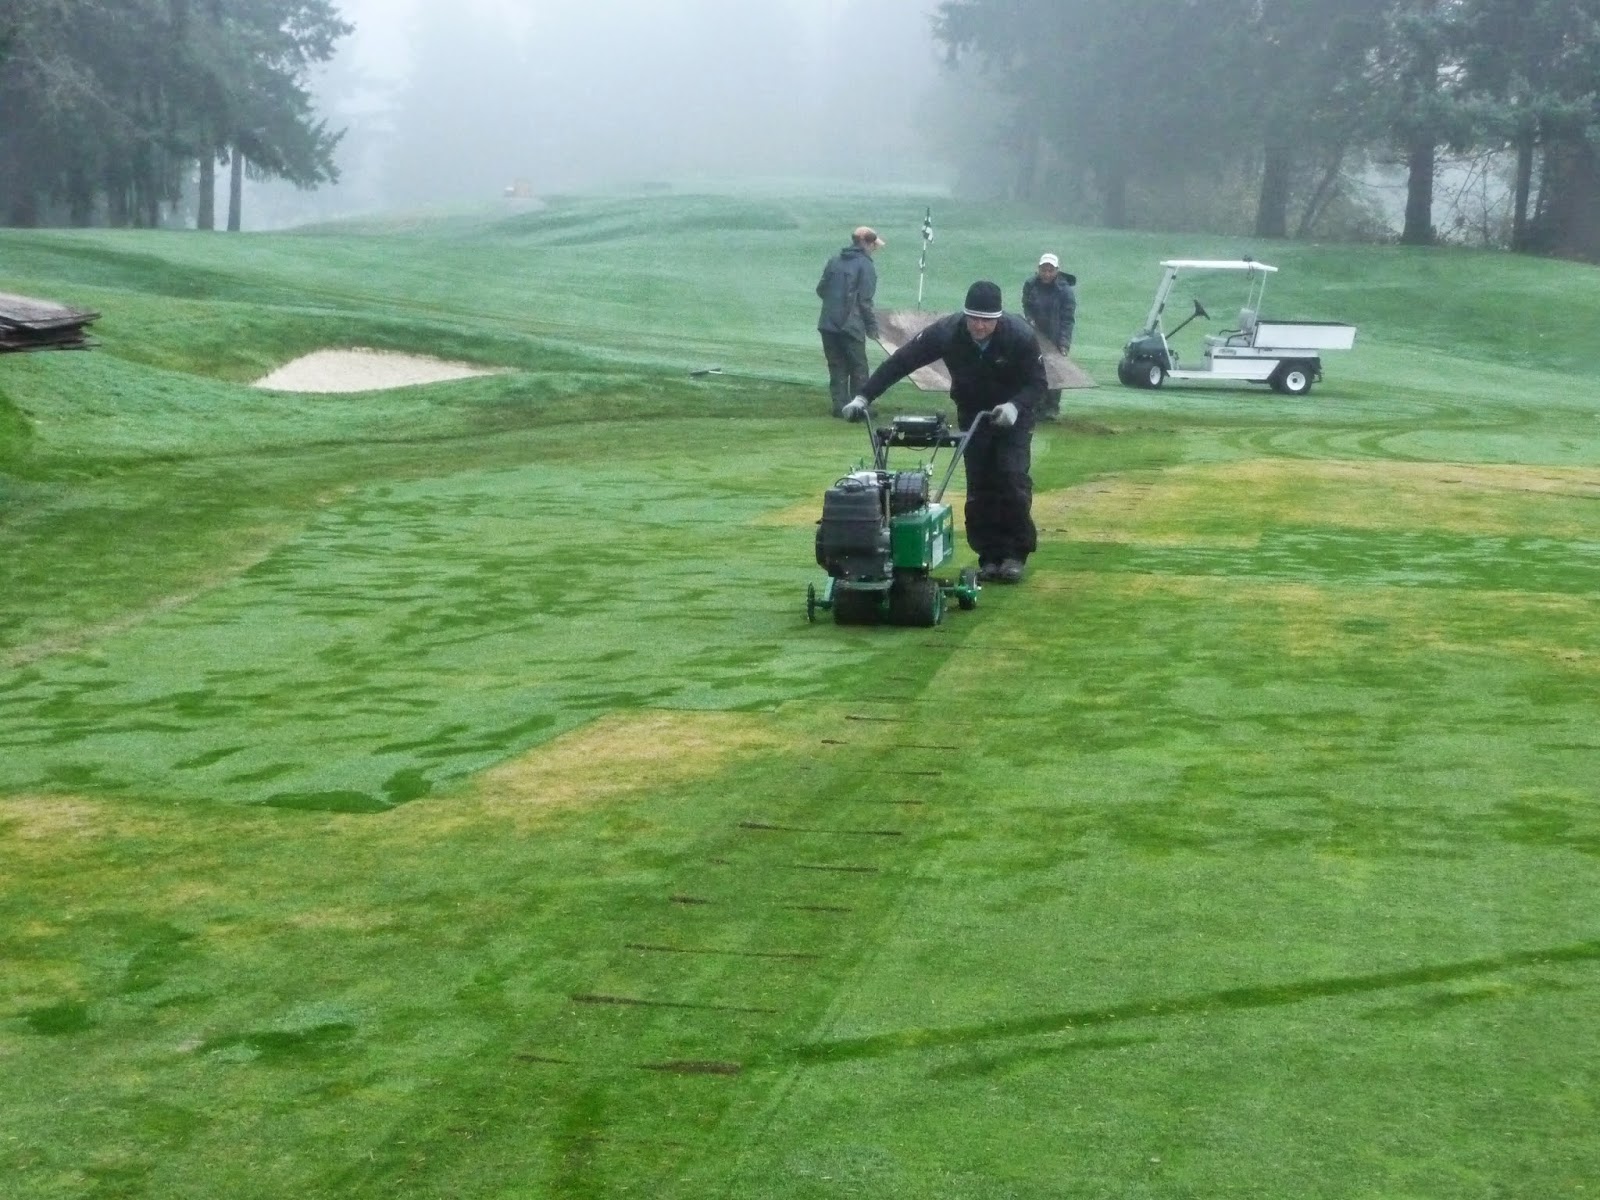
Monday April 14th was the day we aerated greens for spring 2014. The weather was 70 degrees and sunny which  is perfect conditions for aerating greens. The process was different than in all the years past, we used solid tines compared to hollow cores tines. Hollow core tines are the ones used to remove a core, solid tines punch a hole into the ground. The reason we aerate greens is to relieve soil compaction, get air to the plant roots, and create a space for sand to be placed in the root zone. Getting sand into the root zone is critical to dilute the amount of organic matter that accumulates in the soil. Organic matter comes from dead roots and shoots, and is increased by the amount of fertilizer and water used. A green that has excess organic matter is soft and spongy, doesn't drain well, shows visible foot prints from golfer foot traffic, and is not a good putting surface. Research at the University of Nebraska over the past 15 years has shown that the key to controlling organic matter build up in the soil is getting sand into the root zone. The method of sand placement can be done by several methods; deep verticutting , hollow tine core aeration, and solid tine aeration. As long as the amount of sand used is the same over the span of a year, all three methods work and dilute the organic content the same. We verticutt and lightly sand our greens every other week from May to September, and aerate with heavier sanding in April and September. In previous years we have always pulled a core when aerating greens, then filled the holes with sand. It's a difficult process to get the cores picked up without damaging the greens surface and getting sand to fill the holes. If the sand isn't dry enough it will bridge across the tops of the holes and not fill them. Driving equipment across the soft freshly aerated surface causes ruts in the green which take a lot of rolling to smooth out. Spacing between the holes is critical also. If they are too close together, the machine will almost roto-till  the surface. The tightest spacing with hollow cores we were able to use was  2" X 2". With solid tines we used a 1.5" X 2" spacing because there is less surface disruption compared to hollow core tines. We topdressed the green first and allowed the sand to dry, then aerated with solid tines and drove the sand into the holes. We then did a quick drag across the green to fill the holes all the way with sand. With solid tines we punched more holes and used more sand, caused minimal surface disruption, and cut the recovery time in half as compared to hollow core aeration. The greens are firmer from additional sand and will also drain better. I took samples from all the greens prior to aeration and sent them to a soils lab to have the organic content checked. I'll take samples next year at the same time to compare the levels of organic matter and the numbers should be lower. Photos of the entire process below show how the job was done.


The first step is to spread a heavy layer of sand on the green and wait about four hours until it's dry.
                                                
The two photos above show the difference between a solid tine (no core pulled) and a hollow core tine (pulls a core).

The green is then aerated with solid tines. Vibration from the machine helps drop more sand into the holes and windrow attachments mounted on the back of the aerator drag sand into holes not yet filled.
                                   
                              The 10 second video above shows the aerator at work.
                 The next step is to drag the green with a brush unit to even out the layer of sand.
After the first drag, a verticutter is used to cut 1/4" deep grooves in the green to make additional space for sand on the green surface. It also fills in any remaining holes that are not filled. After verticutting we do one more quick drag and are ready to water the green for 20 minutes. Once all the greens have been watered, we are done with day one of the process.

 Day two of greens aeration starts with removal of excess sand. We use another brush unit that moves the sand to one end of the green where it can be picked up and hauled off.
We're getting close completion. Here you see Joel, Mario, and Nate blowing off excess sand on the 14th green.
The greens are then rolled two directions to smooth out the surface and we're done! All the holes are filled and this is what it looked like at the end of day two. The greens are ready for play and the recovery time to get back to normal is reduced by at least one week.

Wednesday, April 16, 2014

Trees -VS- Turf continued........

The three photos below were taken Monday April 14th at 3:00 pm. It was a beautiful sunny day, 68 degrees and perfect weather to aerate greens. The reason I show the photos is to see if you get the same feeling as I did when I drove up to the 12th and 15th greens. The amount of daylight we had on April 14th is the same as we'll get on August 28th. The first photo shows #14 green. 
The green is in full sun. I rolled up to check out this green with the sun in my face and I'm feeling great. Despite just getting aerated and sanded, the turf is happy too. 
I then headed over to #12 green to check it out. 
The green is shaded, but the trees are in full sun. Hmmmmm?  I drove over to #15 next.
Wow. Bright sunny day and it feels like stepping into a closet. Turn on the lights please! Decreased light equals decreased turf quality. You get the idea now of what caused the 15th green to fail in November of 2012, just 17 months ago. I like trees, but not next to greens where the turf suffers. In the battle of Trees -VS- Turf, the trees win every time. 

Wednesday, April 9, 2014

Trees -VS- Turf, who's the winner?

Trees are an integral part of most golf courses in the Pacific Northwest. When managed properly, they can co-exist with turf most of the time. The taller the turf, the better it gets along with trees. Tees and greens are the areas that don't like competition from trees for light and water. Short cut turf = short roots and the trees win the battle every time. The photos below were taken last week and show the left side of #12 green. Several members have asked me lately why the green has shrunk in size in that area. Over the past winter, the edge of the green was moved in (four feet at the mid point) because of stress caused by the big tree in front, and the other big one just off the left side of the green. This area becomes thin and turns to mud if we continue to mow it through the winter. It's full of tree roots competing with the turf for food and water, and the turf checks out for winter due to the lack of sunlight caused by the trees. Fungal diseases (especially cool season Pythium) are a problem from October through March due to the shade, so extra fungicide applications are made to this green.
Sixteen months ago the turf on the 15th green started showing severe signs of stress. We had done our fall aeration in early September and the green was not looking good (Fall aeration causes a lot of stress on weak shaded greens.) We babied it along for the next month, and in mid-October sprayed all the greens with a fungicide as part of our normal disease prevention program. The turf did not like the added stress from the fungicide application and took a turn for the worse. We re-sodded sections of the green, but the rest was getting worse. It got a case of cool season Pythium and that was all it took to push it over the edge. Here is a photo below of what it looked like on November 6, 2012. 
I was so disgusted by the condition of the turf that I decided we needed to replace the entire green. You can see my cart tracks where burned some rubber on the dead grass. That was my final goodbye to the past two months of stress I dealt with  over the condition of this green. 
Back to the shop for the sod cutter, and time to get to work.
The entire green was cut, cleared, and hauled off  to our compost pile. The sod we had been growing at the nursery on the 3rd hole was in perfect condition. It was built with greens aeration cores that I got from Seattle Golf Club the year before. We laid the new green in two days and it looked great. It was opened for play in three weeks and still looks good today. The only issue we still have with this green is the stress that caused the initial problems is still present. I can't guarantee that sometime in the future we have another turf failure. The photo below was take at 12:30 pm on November 7th, 2012. This green has shade over 1/3rd of the green at the time of day when the sun is at it highest point. At 2:00 pm it was completely covered in shade. This fall we plan to have Arborcom do shade analysis on both #12 and #15 greens. We'll take their recommendations and remove trees that are necessary to get the light needed to grow healthy turf. This time next year we should have more light on the greens and be confident that they will perform like the rest of the greens on the course.

Friday, April 4, 2014

Soil temps, growth regulators, and height of cut.

Spring is officially here and the turf is starting to wake up from a long winter nap. The soil temps are warming up slightly and growth on greens is slowly increasing day to day. The photo below shows the soil  temperature at a depth of 1 1/2" on the putting green is 50 degrees.
The color of the turf on greens is slightly off due to application of two different growth regulators in the month. We use a product called Proxy to suppress seed head development which was applied three weeks ago, and we'll follow up with a second application next week. This should keep the seed head numbers very low to none at all. It has a slight growth regulating effect and turns the turf a little off color. Two weeks ago we made our first application of the year of a product called Primo, which  causes the plant to grow laterally, not vertically. It causes the turf to become much denser because the plant puts all it's energy into lateral growth. We apply it for the entire season until it gets cold and wet in October. Our first Primo application always causes the turf to turn slightly yellow as you see in the photo below.
The color on the greens will improve in the next week as the turf gets used to living with the Primo. The height of cut on greens was lowered yesterday from our winter cutting height of .130 to .115. That is the thickness of four sheets of printer paper shown below. After spring aeration we will make our way down another 15 thousandths of an inch to our summer cutting height of .100.
The thickness of four sheets is actually 14 and 1/2 thousandths (.0145) not 15, but very, very close. We set the height of cut on our greens mowers with a gauge in the shop. In the field we check the actual cutting height with a prism gauge shown below.
The angle in the photo is not quite right, but if you look closely you can see that the height of cut is under .125 (an eighth of an inch). This shows that the bench setting and the actual height of cut are very close. 

Tuesday, April 1, 2014

Golf course updates for the week of 4/1/2014

Today's post will give an update of various things that are happening on the golf course. We removed a lot of Japanese Knotweed from along the creek on holes 6, 7, and 8 last fall. I like the look of the exposed creek,  and this season we are going to do our best to keep the Knotweed from taking over those areas. The photo below was taken last Friday and shows the Knotweed waking up from winter. Small plants have emerged all along the creek and soon it will be  time to make our first herbicide application. 
We can spray most of the plants close to the stream, but some of them are right along the edge and we can't get the spray mixture into the water. Those plants will have to be dealt with by other methods yet to be determined. The area shown below is between the walk bridge over the creek on #7 and the 8th tee. While this area does not look very attractive, at least it's better than twelve foot high Knotweed. 
All of the benches have been refinished and are back out on the course. Thanks to Deane Austin from our staff who spent two months over the winter doing the work.
New mats are here and were put out on the driving range tee this morning. 
We have just started the process of replacing all 192 green side sprinkler heads. Each head takes about 45 minutes to dig up and replace. The new heads offer several advantages to the 21 year old heads they are replacing. New nozzle technology produces a better spray pattern distribution, adjustable arcs, improved electronic valves to turn them on and off, and increased height when they pop up upon being turned on. 
In an effort to clean up the look of the course a little bit, all of the hazard and OB stakes are being replaced for opening day. Some of them were looking very tattered and bleached out from the sun.
Most of our time is currently being spent on mowing long grass. It's still very wet in some areas and we've gotten several mowers stuck in the mud today. Hopefully things will dry out soon so we can get the course in shape the golf season.